Re purposing old sweaters into something else has been a theme of mine for a while now. And I have shifted my focus to making cushions and blankets out of felted wool squares. Here's a snapback to my first quilt. My softies are also made from recycled sweaters.
Look away now if you are absolutely bored to tears with this type of malarkey.
Here are some easy steps to follow if you want to make a cosy blanket to snuggle under for a snooze on the couch.
✽ Collect 8 or 9 wool jumpers from friends, the opp shop or your own wardrobe. Choose jumpers that are pure wool for felting. You can use an 80/20 blend but it won't felt as well. I've made a blanket without felting at all - you just need to back it with a suitable fabric.
✽ Wash the jumpers on a hot wash using soap flakes or your usual powder. Check how much felting has happened by seeing if the stitches are still visible. Don't over felt the wool because it gets a bit board like. If you want more felting you can pop the knits into the dryer.
✽ Cut a template for your squares from some tracing paper or flexible acetate. I used a 20cm X 20cm square. Or you could go freelance and use all different sizes of rectangles and squares. The final look can vary from bohemian to polished contemporary, whatever look you are after.
✽ Cut the jumpers up the side seam all the way to the underarm and then down the arm seam on both sides to open up the jumper. Place your template on the jumper in the most efficient way you can to get the most squares. You can use the rib bands but be warned they can pull the square out of shape as you stitch them together unless stretch the seam to match for size as you sew. You can also cut squares that include the arm seam in an arc across it - it adds to the charm of the blanket and is a more efficient use of the sweater.

✽ Arrange the squares in a pleasing colour combination on your largest table or if you are fit and able - on the floor. I had 6 rows across and 8 rows down.

✽ Zig zag the edges together in a 6mm seam to form the 6 strips. Then sew the strips together along the long edge.


I chose not to back this blanket because I love the light feel of it, so even though the felting minimizes fraying I wanted to finish off the raw edges so I blanket stitched them by hand.
A good tutorial for the half crossed blanket stitch is here.
A good tutorial for the half crossed blanket stitch is here.


✽ For the cushion - I stitched 4 squares together for the front and another 4 for the back. I used an invisible zip as I am a thrill seeker. To refresh my memory on this holy grail of sewing I used this tutorial on YouTube. Inserting an invisible zip.

✽ Put the zip in first, then open it half way. Sew the other 3 edges together, being careful to line up the squares to a perfect intersection. It is easy to do this if you stretch the fabric well ahead of the intersection so that it lines up. That way you have evenly stretched the work rather than stretched the last few cms only as that leads to warped seams.
Turn your cushion right side out through the opening that you made in the zip. Pop the cushion insert in, do up the zip and admire your work!


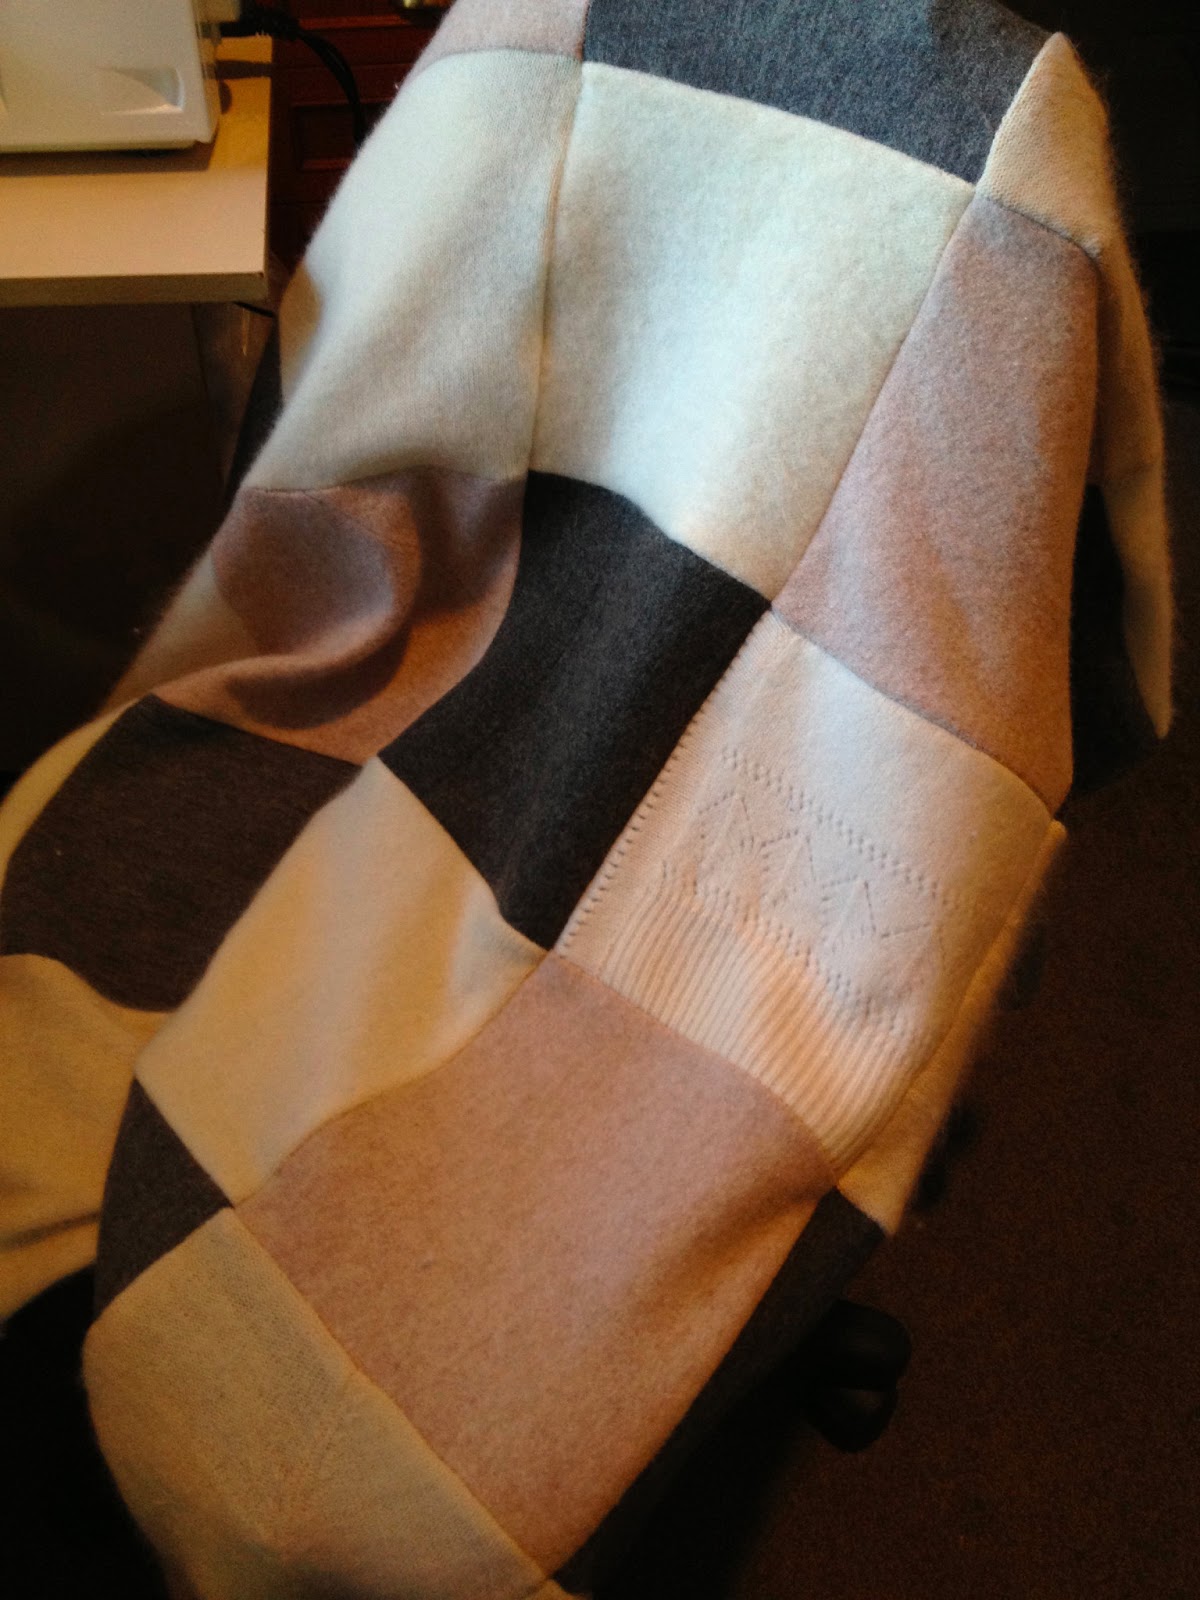
My finished recycled sweater blanket is ready for the first Autumn chill.
Turn your cushion right side out through the opening that you made in the zip. Pop the cushion insert in, do up the zip and admire your work!


My finished recycled sweater blanket is ready for the first Autumn chill.
Beautiful! I have my squares cut and laid on the bed ready to sew.. so excited..Hope mine turns out as lovely as this one1
ReplyDelete